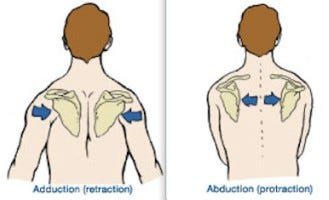
You’ve probably heard it before:
"Pull your shoulder blades together.”
It’s a cue that’s been passed around gyms and group classes for years.
But here’s the truth: overemphasizing scapular retraction during pulling exercises — like rows and pulldowns — can limit shoulder health, breathing mechanics, and strength development.
If you care about moving better, not just lifting more, it's time to rethink how you row.

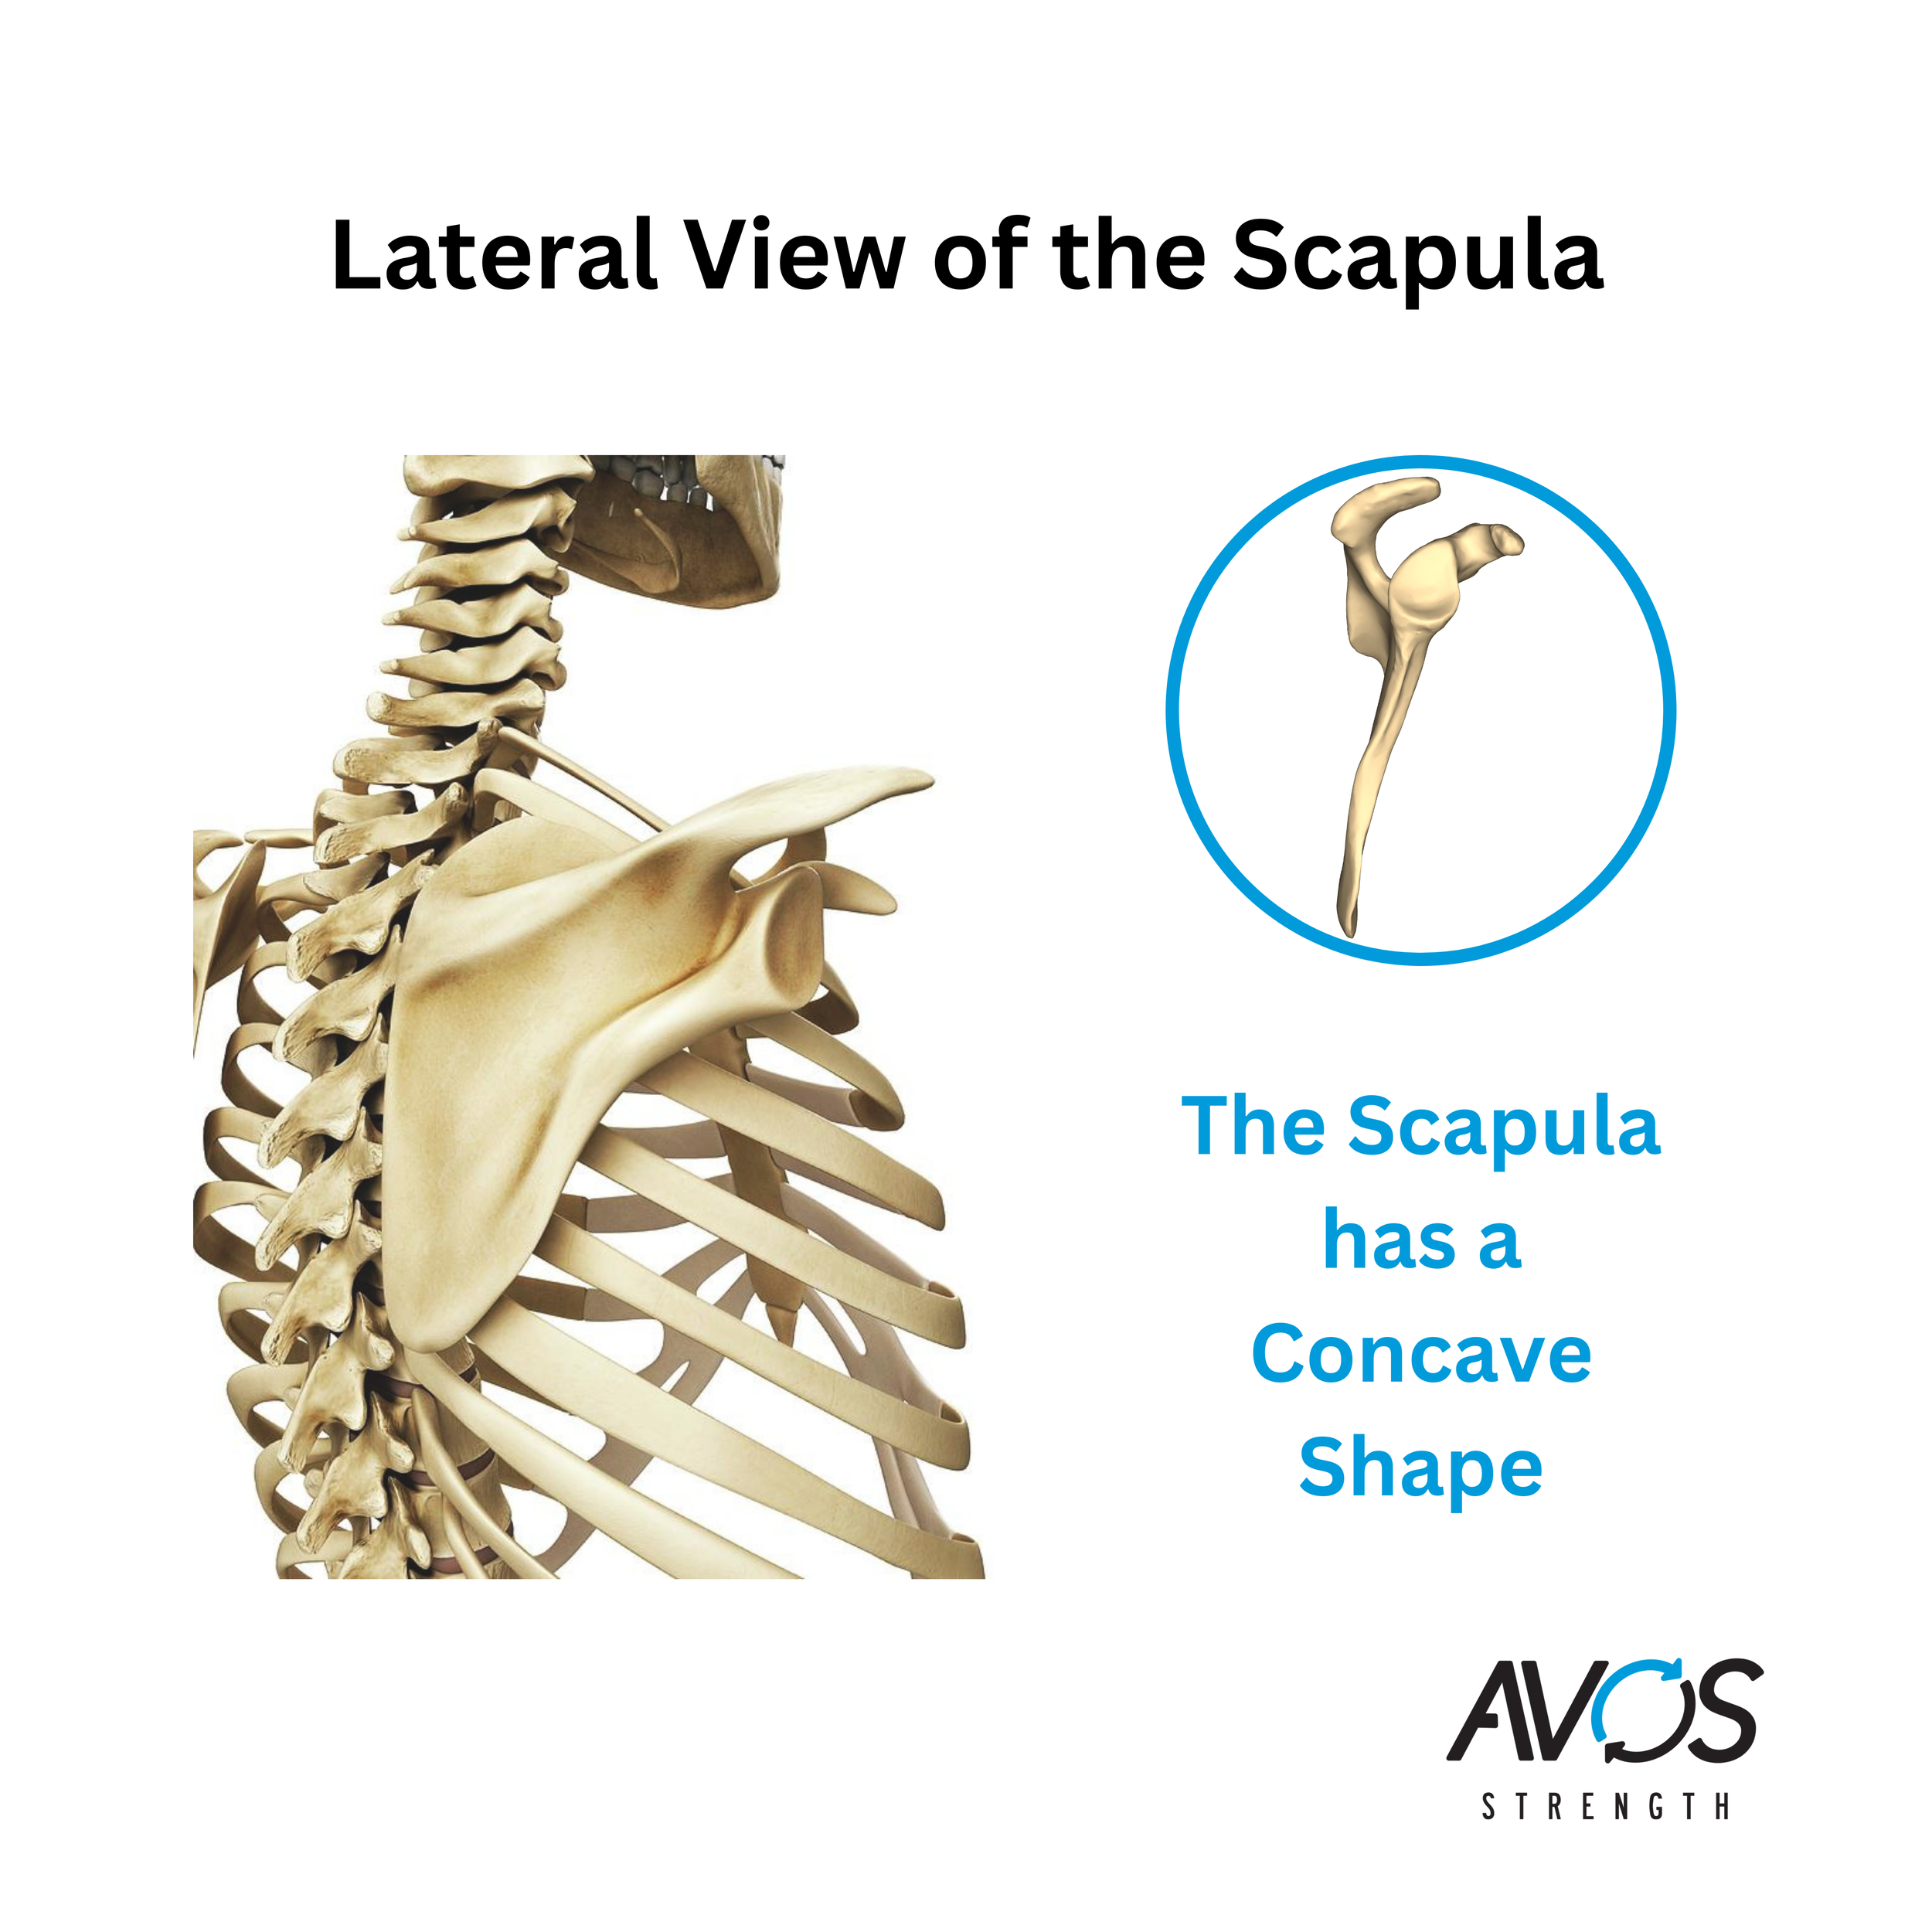
1. Over-Retraction Limits Ribcage Expansion
When you cue scapular retraction too forcefully during a row or pulldown, you compress your upper back and limit ribcage movement. This restricts natural thoracic mobility and can impact your ability to breathe and move efficiently under load.
👉 See more on mobility training
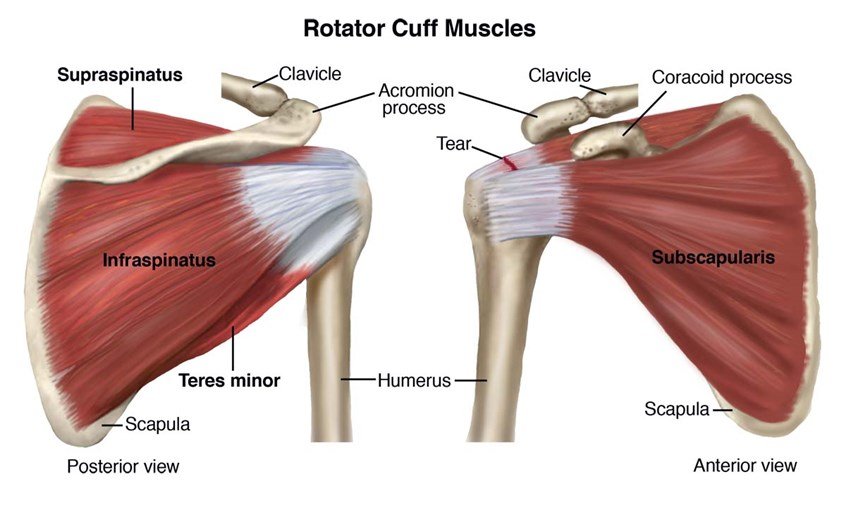
2. It Disrupts Scapulohumeral Rhythm
The scapula and humerus are designed to move together in a fluid, coordinated rhythm. Forcing the shoulder blades into retraction first interrupts that sequence. This increases joint stress and decreases the efficiency of your movement — especially in horizontal pulling patterns.
3. You Miss Out on Serratus Activation and Posterior Expansion
When you stop at scapular retraction, you lose out on the benefits of a full reach — which promotes serratus anterior engagement and helps open up the back of the ribcage. This reach improves shoulder function and breathing capacity, particularly for clients struggling with postural restrictions or breathing mechanics.
4. It Reinforces Compensatory Movement Patterns
Cues like "pinch your shoulder blades" often drive people into extension-based strategies — excessive lumbar arching, rib flaring, and overuse of the lats and lower back.
Instead, focus on staying stacked: ribs over pelvis, neutral spine, and movement that flows from a stable foundation.
👉 Learn more about injury prevention strategies
What Proper Row and Pulldown Mechanics Look Like
Elbow leads the movement — not the scapula
Scapula glides naturally with the arm
Reach at the start and end for full range
Spine stays neutral, not overextended
Breathing stays consistent throughout the set
Better Cues to Use Instead
“Elbow to back pocket.”
“Let the shoulder blade follow the arm.”
“Reach at the end — don’t stop at the shoulder blade.”
“Stack your ribs over your hips.”
Want to train smarter?
If you’re tired of outdated cues and want coaching that prioritizes biomechanics, breathing, and real-world strength — we can help.
👉 Explore our Personal Training or Hybrid Coaching Programs
Let’s build strength that lasts.
Contact Us to get started.